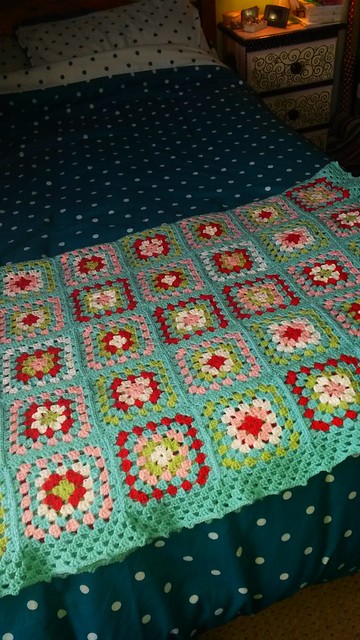
Now, I love colour, but I really struggle with putting colours together. I know what I like, and I know what I don't like ... but somehow I can't seem to see in my mind's eye how I want it to turn out. So much so that generally speaking, I will seek out a colour palette that I like, then use that as a basis to work from, rather than trial-and-error it on my own. I'd seen a blanket where I thought the colours worked well together, and picked a selection of similar shades to make my blanket with.
I'd picked the delightful Ripple Pattern by Lucy at Attic 24 . I've had my eye on this pattern for ages and kept imagining the deliciousness of the colours and how it would all look. So, in a lather of excitement and anticipation, I set to work.
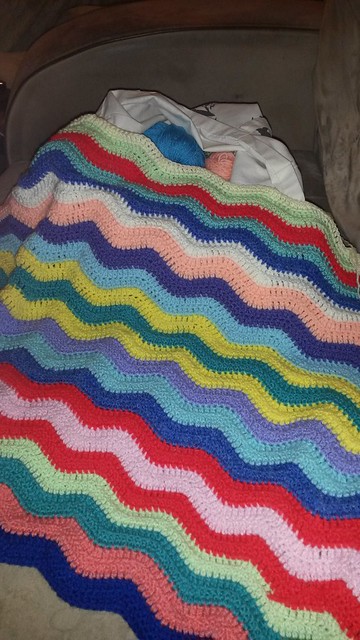
I was reasonably happy with it at first, up to about the first pale blue repeat. Then I started to doubt myself. In went the yellow/green/yellow combo (as seen in the other blanket I liked, which I seem to have wiped from memory now ...!), and I wavered, but persevered. By the time I got to the top red repeat, I was having serious misgivings. The evening after I finished the top cream row, I took the blanket out of my project bag ... and realised that I really wasn't all that excited about working on it.
Well, that was it - the death knell had sounded. I thought about how much work I had put into this blanket (about two weeks' worth), and realised I was considering pulling it all back, which seemed pretty insane. But then really, the alternative was that either a) I forced myself to continue on a project I had fallen out of love with and would never enjoy using, or b) I return it to the project bag, shove it to the back of my studio and leave it to linger, unloved, until it finally gets thrown out or ... pulled back for something else.
So - I went for it. Actually, the look on my family's faces was priceless - they were horrified! My daughters in particular thought I had taken leave of my senses (I kind of thought they may have a point ...). It took me most of an evening, pulling back and winding into small balls, all the yarn I had carefully crocheted over the previous two weeks.
Then I went back to my stash, and pulled out a pile of extra colours. In with cerise, dark purple, pale yellow, turquoise and white, to work alongside the original palette. I also decided the stripes were too large and "heavy" looking, and from now on I would work 1 row only of each colour. More ends to sew in afterward (I told you I needed my head examined), but a better balance, and a chance to use up some smaller balls of colour from my stash.
Deep breath, and I began again. I abandoned the idea of following someone else's colour choices, and just went for it. Considering my first experience with this blanket, this was either quite brave or potentially foolhardy, but I decided that the risk of needing to pull back a second time was worth it. I just stopped worrying about the colours, and (watch out, cliche coming) listened to my heart telling me what to go with next. I stopped thinking, and just ... felt it.
Lo and behold, it's working.
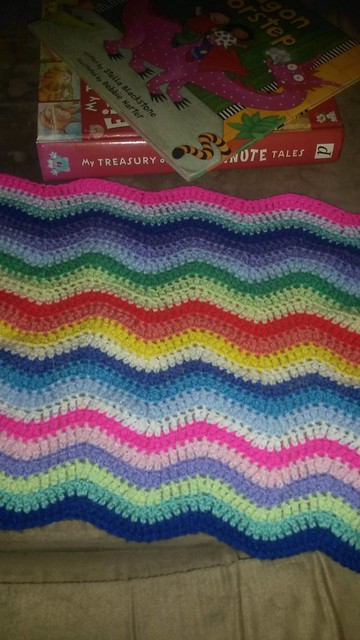
My daughters both love this version, and so do I - the cerise adds an extra zing of colour, the single row enables each colour to have its say without being "dominated" by the stronger ones, and the increased palette adds some extra happiness to the mix. The blanket is coming along a treat now and I enjoy picking it up and working on it.
I just needed to stop "thinking" and start "feeling".