SUCH a long time since I last posted! I've been busy doing other things for a long while - four children and a full-time job take up a lot of hours - but I just had to share this as I am so excited by what I created!
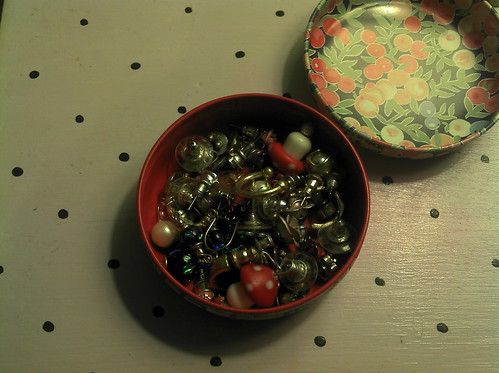
Like many people I'm sure, I love my earrings. I will often match them to my outfit (as I always say, you can take the girl out of the 80s, but not the 80s out of the girl!). I have a sweet little tin to keep them in, but I suspect you will immediately see the problem:
Yup - it can take several minutes to find a matching pair! So, I spent many an hour trawling the internet looking for a solution, and was surprised to find nothing fitted the bill. Lots of ideas on how to hang up your danglies, but nothing for studs, which comprises the majority of my collection.
Then I had an idea ...
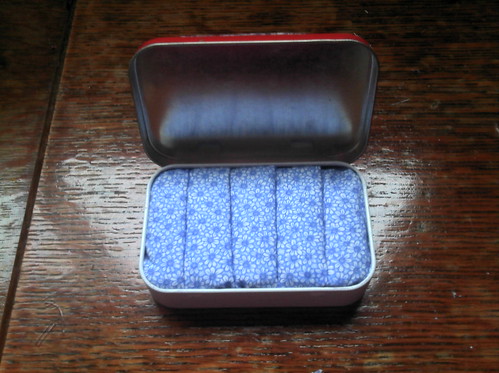
... can you see where I'm going with this? Here's a quick preview:
Ta daa!
OK, so here's what to do:
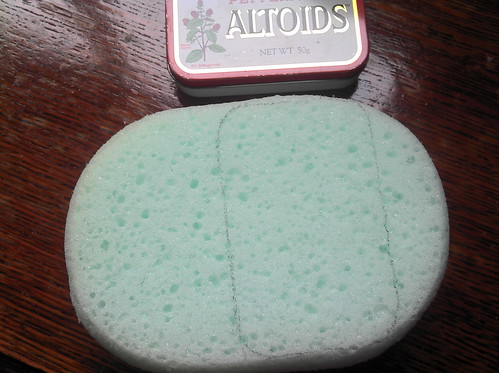
Firstly, take your altoids tin and draw round it onto the sponge:
Next, cut round your sponge. You can use a pair of fabric scissors or a scalpel (stanley knife), whatever works best for you. You may also need to cut your sponge in half if it's a big thick one. It should fit snugly in the tin, but not need "squashing" to fit it in. It should also be a little lower than the lip of the tin (note, I didn't do this and my tin won't shut with my earrings in! So learn from my mistake!)
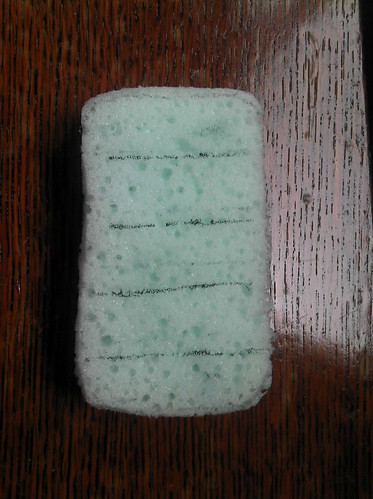
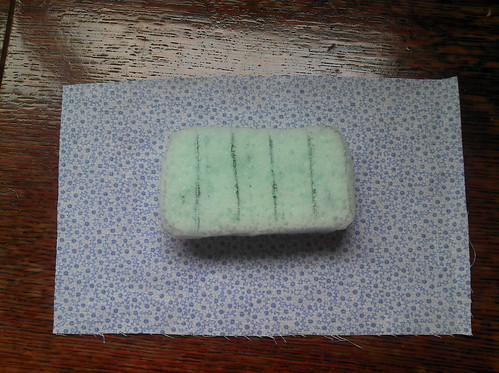
Now take your sponge out of the tin and mark out four equally spaced lines. As you can see from the rather grubby state of my sponge I had a couple of goes at this until I was happy! My sponge is about 10cm across, and my lines are at 2, 4, 6 and 8cm.
Then, using your scissors or scalpel, cut along the lines to about HALFWAY through the sponge. Do not cut all the way through!
Next, choose your fabric. I chose one with a small subtle pattern, as I wanted my earrings to be prominent and not lost among a "busy" background. A fine cotton fabric works best; I would avoid anything very stretchy or slippery.
I cut my fabric to a generous size, about 25cm by 15cm. You need plenty of extra fabric to fit down the slits you created in the sponge.
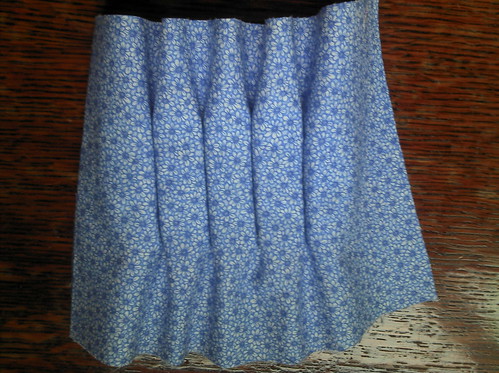
The next bit is a little fiddly, but not as difficult as you might expect as the sponge helps to "grip" the fabric. Starting at one end, leaving enough fabric to wrap around the end of the sponge, gently push the fabric down the first slit, then continue along the sponge until all the slits are filled. If you aren't happy with it, simply pull it out and start again! You should end up with something looking a bit like this:
As you can see, I've left spare fabric at both ends to tuck round the sides.
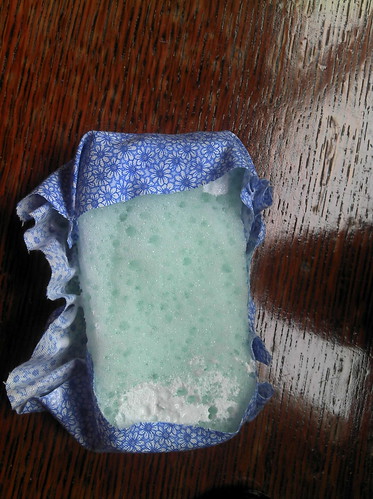
Next, turn the whole thing over and put a generous blob of glue on each end of the sponge. Press the fabric down firmly until it sticks. (As you can see from the photo, I was rather over-generous with the glue at one side!)
Now, trim the sides down a little (if needed), leaving enough fabric to wrap around the sides and onto the base of the sponge. Add some more glue and firmly stick down the fabric, holding it in place until the glue starts to do its job. On this picture I had got one side to stick, but not the other!
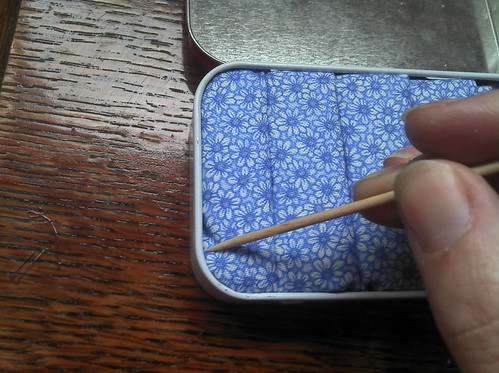
It doesn't need to be really neat, just enough to hold the fabric in place. Now turn your creation over and pop it into your tin.
Looking good! You can use a cocktail stick or toothpick to neaten up the sides and get your fabric to sit just right.
Now you just need to finish off the top. If you like, you could just leave it au naturel, or you could paint it, or stick a picture on it - the choices are endless! There are lots of great tutorials out there which can give you ideas. I decided just to add the same fabric to the lid as the inside, since my tin is just going to sit on my bedside table and not get bashed about in a bag or suitcase. So I laid my tin on my fabric and drew round it:
Then I smeared glue evenly over the lid and stuck it on:
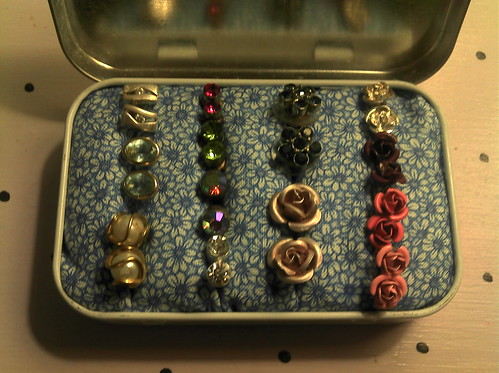
And there we have it! The final thing to do, of course, was to add my earrings.
As you can see, I left the few dangly pairs I have in my little round tin. But now I can find all my studs at a glance. No more rooting around frantically first thing in the morning!
