Pages

Tuesday, 3 April 2012

Baby sock rabbit tutorial ... and giveaway!

Easter is almost upon us, and if like me you would always rather give a handmade gift than yet more chocolate, then I have a little tutorial for you to run up a very sweet present for a child near you! All you need is a baby sock, sewing thread and stuffing, and a spare half hour. In no time at all you will have a unique gift to bring a smile to someone's face!


So - first find yourself a baby sock. Let's face it, if you have small children, you probably have a bunch of these, all missing their mate. I have a theory that all lost socks find their way to heaven, and on your arrival there you get presented with a box full of them. But that's just my warped imagination.


Turn your sock inside out. Using a biro or a felt tip, draw an outline of the ears at the top of the sock (the cuff end). Your ears should cover between a half and two-thirds of the top part of the sock. If you are using a white sock you might want to use a paler colour just in case it shows through, but it shouldn't matter too much.  Leave a wee gap between the ears so that you can cut down it later.


Next, take some sewing thread and sew along the lines you just drew. I've used yellow thread so that you can see it easier, but it's better if you match it to the colour of your sock. Use a backstitch and make your stitches small and neat. If you prefer you could use a sewing machine to do this bit; handy if you decide to make a few of them at the same time.
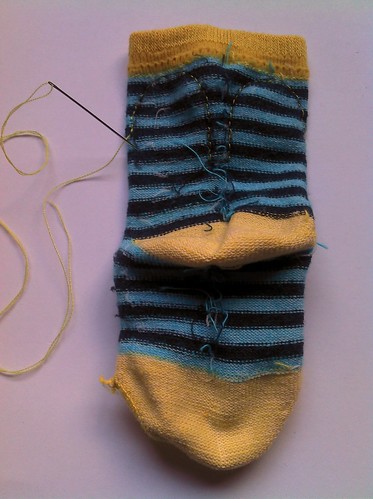

Cut round your ears, leaving a small border round the edges. Make sure you cut almost up to, but not in to, the stitching across the bottom of the ears.
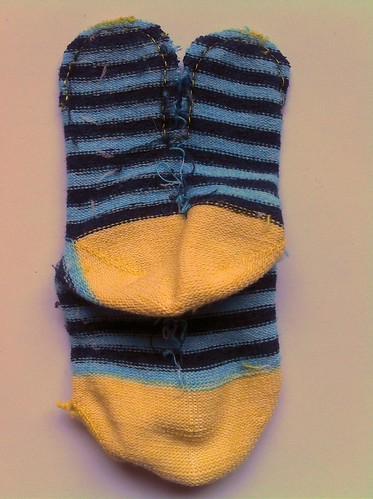

Next, cut a hole in the toe of the sock. It should be big enough for you to put the stuffing through.


Now turn your bunny the right way out and stuff it! Make sure the stuffing is evenly distributed across the ears, and resist the temptation to overstuff it. The softer and squishier they are, the more huggable they are. So my kids tell me anyway.
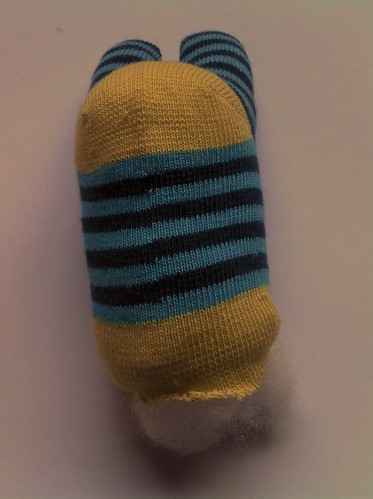

Sew up the bottom of your rabbit using matching thread. As you can see from my photo, I gently turned the raw edges in as I sewed for a neater finish.


Now it's time to work on the face! I just wing this bit freehand, but if you are a bit nervous about that, you could draw on the features with washable marker pen first. You could use embroidery thread or ordinary sewing thread for this bit (I used sewing thread because it's a bit finer and I like delicate features, but it can be a bit fiddly when it comes to filling in the nose). Start by sewing an upside down triangle for the nose, making the top of the triangle level with the seams on the heel of the sock. Then sew the mouth with the stitches curving upwards at the ends (otherwise you will have a sad bunny).


Next fill in the nose. As you can see from my photo, I used my thread doubled at this point to make it a bit less fiddly, but you could use embroidery thread instead if you prefer.
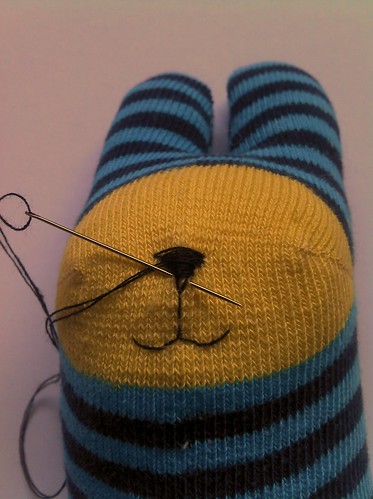


Now add some french knots for eyes. If you aren't giving it to a small child, you could use seed beads or little buttons for the eyes instead (see the end of the post for some rabbits with seed bead eyes).
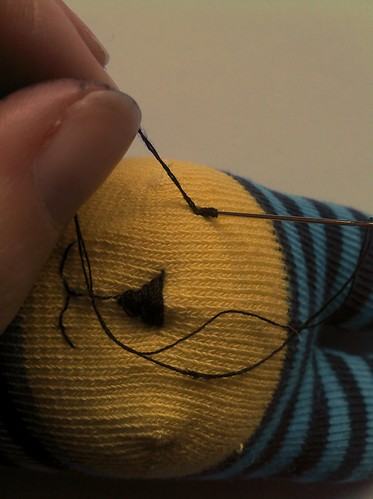

Finally give your rabbit some whiskers. Bring your thread out at the start of the heel seam, and sew a long stitch along it. Add two more stitches either side of this one at an angle. Repeat for the other side.
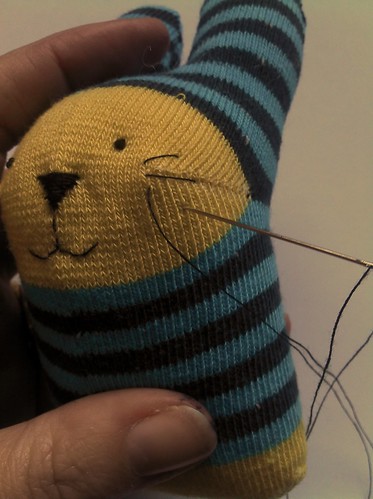

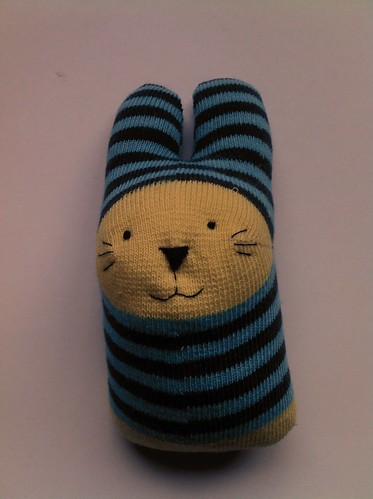
And there you have it! Your own little baby sock rabbit.


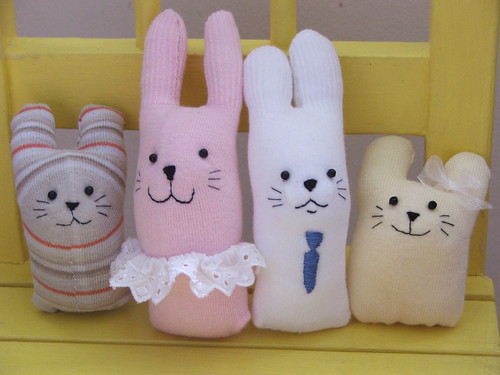
You could make them in lots of different colours:


You could even make a family of them! (I made these last year - check out the seed bead eyes). For the mummy rabbit I used one of those socks with a frill round the top.

So - go and have fun making your own wee rabbits! As always, feel free to make as many little rabbits as you like for your own use or for gifts, but please do not make them to sell. If you do make them and post your results, please link back to my tutorial - and come and let me know so I can see what you made! I've also set up a flickr group for you to add your bunny pictures to, so we can share them all!

And finally - I did say there was a giveaway, didn't I! If you would like the little rabbit I made for the tutorial, please leave a comment on my post; if you link to my tute and giveaway on your own blog then come and post that too, it'll give you an extra entry into the giveaway! I will choose a winner at random next Monday and post the results on here.

Thank you for reading - I can't wait to see the rabbits you make!

Saturday, 31 March 2012

Finished!

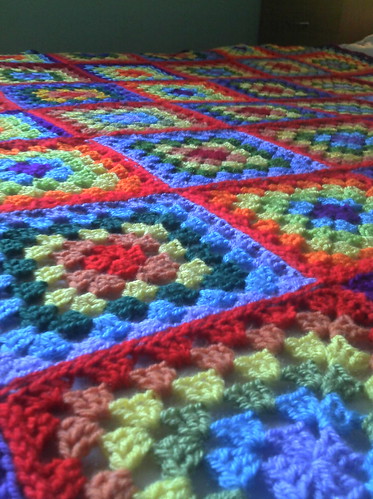
At last, I have finished remaking my rainbow granny!


Originally I had decided to add another 14 squares down the sides so that it was wide enough to drape properly over my chair, but when I came to look at my poor sad blanket I noticed that it had come apart in several places. So I decided to take it apart completely (you should have seen the look on everyone's faces when I started to hack into it!), reorganise the layout to add in the new squares amongst the old ones, then crochet four rounds around the edge to finish it off.


In the end I placed the squares fairly randomly, just making sure I hadn't got squares in the same colours next to each other. I'm glad I didn't overthink it actually!

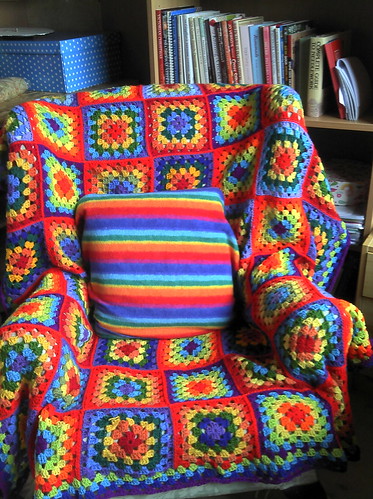
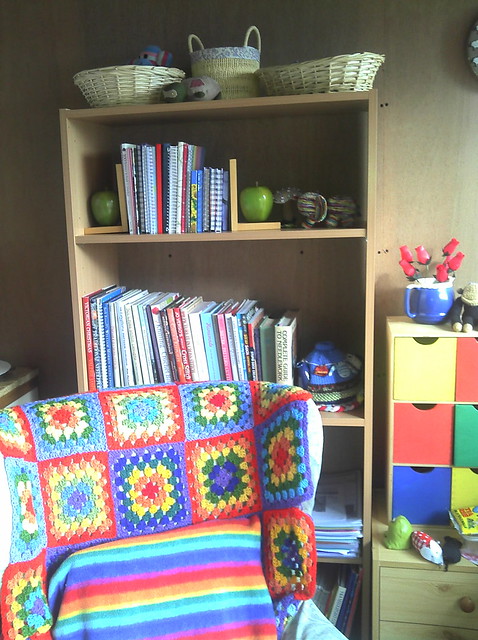
And here it is in all its technicolour glory, on my Parker Knoll chair in the shed. A little ray of sunshine happiness!

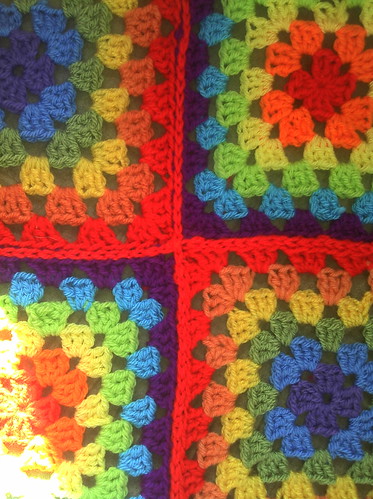
Rather than sewing the squares together this time, I used a fab technique I found on grumpy girl's blog - it's so clearly explained that even my crochet novice brain could understand it! I'm so pleased with the result, it lies really flat and is quite unobtrusive (and neat). It's definitely stronger than just sewing the squares together too. I will definitely use this technique again, maybe in a contrasting colour next time, Here it is in close-up so you can see how cool it is!


It was a bit bright and sunshiney when I took this photo (unlike today!) , but you can see how neatly it all joins up. Thank you for visiting!

Monday, 26 March 2012

Easter bunnies

I was thinking about Easter, and making some rabbits. So I picked up my ubiquitous sock monkey, and had a wee think about the design ... and came up with this:


Isn't he sweet? I am very pleased with the way he turned out. I will be making a few more this week, let me know if you would like one!

Have a look at Handmade Monday for more lovely homemade crafts :o)

Friday, 23 March 2012

Happy Friday!

Today the weather was gorgeous. In fact, I think it was warmer up here in Caithness than in most of the rest of the country! So this afternoon I took advantage and followed the example of Lucy at Attic 24 and went for a trip down to the beach.

Unlike Lucy, I really have no excuse for finding the time to visit the seaside, as I live less than a mile away! So I parked in the town and after a quick visit to the bank, set off down to the beach.

Thurso is a lovely town - we are very fortunate to still have a lot of little independent shops here. It has real character and plenty of useful stores where you can get what you need.


This is one of my favourite gift shops in the town - there's lots of lovely bits and pieces in here. The sun was so bright at this point that I found it very hard to take a picture!


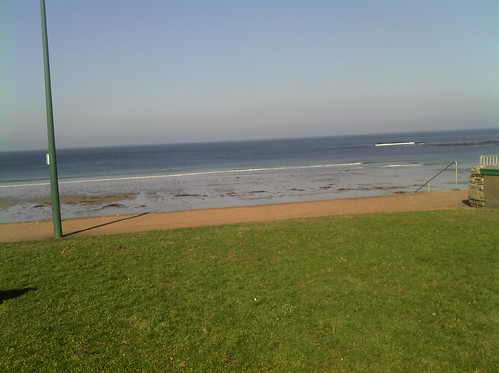
Then on down the road for my first glimpse of the sea. What wonderful colours!


It was lovely and quiet at the beach.


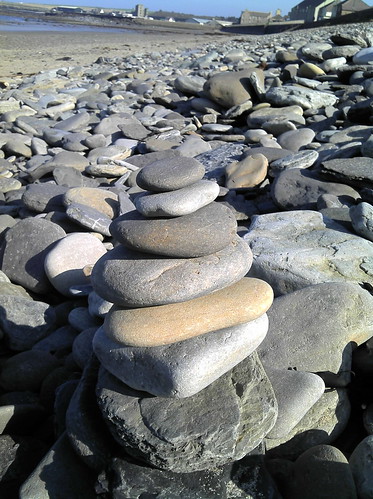
The beach is a mix of sand and stones. The stones are wonderful, a lovely palette of colours and different shapes, all sharing the same characteristic flat surfaces. Very nice to walk on, and to look at.


(Incidentally, I had initially uploaded this picture the wrong way up. How can you possibly tell? I hear you ask. I honestly don't know! But it looked "wrong" the other way up and "right" this way up. Logic tells me it must be something to do with the shadows but I can't see how!)

The other lovely thing about the stones is that, being flat, they make great towers:


I can never resist leaving at least one or two behind when I leave. It's the child in me.

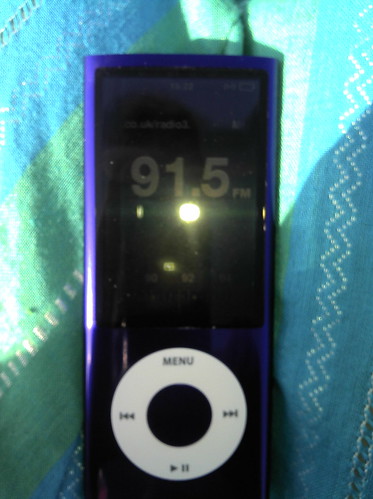
After sitting and enjoying the sun, the sounds of the gently breaking waves, the birdsong, and the rather stiff breeze, I settled down with my ipod set to Radio 3 with the sound turned down low (so I could still hear all the above!).


(and yes, for the eagle-eyed amongst you, that is the battery indicator right down to the red, and yet it happily lasted right up until I left the beach!).

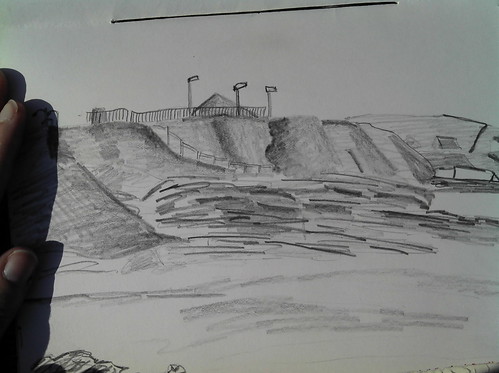
I then got out my sketchbook and did a rapid sketch of the cliffs looking towards Scrabster. The breeze was really getting up by the time I finished so I had to hold the paper still whilst I  took the picture!


I was struck by the number of straight lines in the view, and decided to concentrate on emphasising those. A very rough sketch, but very pleasing to carry out. (Though next time I might take something to sit on as I was rather cold and numb round the rear end by the time I finished!). Sadly, the picture I took of the actual view I was sketching didn't come out very well, so you'll just have to take my word for it that it's a very accurate drawing ;-)

I was very tempted on the way back to town to have an ice-cream from the seafront cafe:


But I resisted. Maybe another day.

Tuesday, 20 March 2012

Spring has sprung ...

The grass is riz ...
I wonder where dem birdies is ...


De little birdz is on de wing ...


Ain't dat absurd!

De little wings is on de bird!!


(Poem often attributed to ee cummings but it is in fact anonymous)

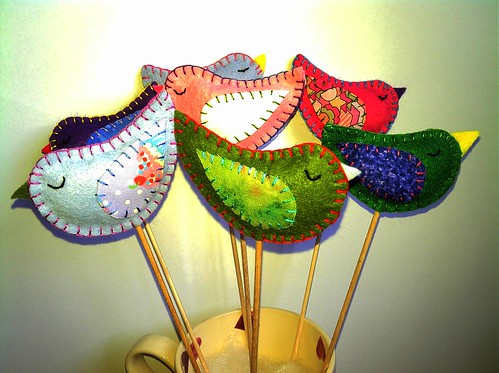
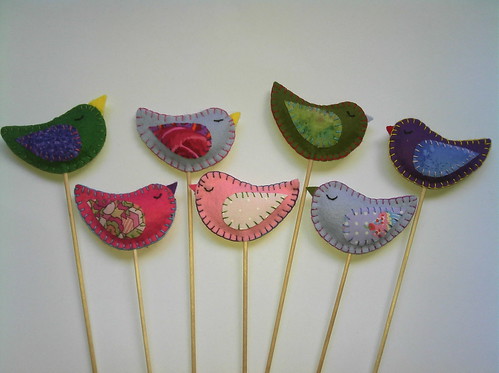
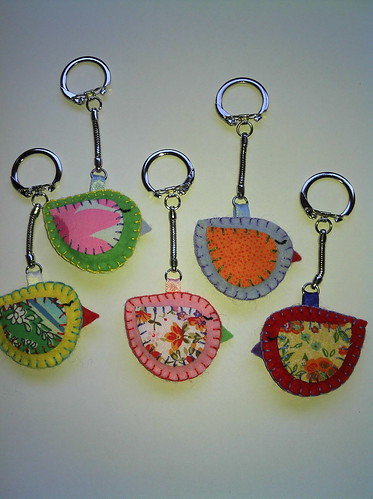
Sleepy birdies now for sale! If you are local to me you will find them at Eye Candy, if you are not local and would like one then just let me know (either leave me a comment on here, or message me on Facebook and I'll get back to you straight away). The birdies on a stick are £5 each and the handbag charms are £5 also. Please note, that due to packing issues the birdies will be sent without a stick (an ordinary wooden skewer will do the trick!). They look lovely nestling amongst your plants or snuggling up in a pen pot, or even as a wee flock in a vase!

I'm thinking I might make some with wire feet that could then "roost" on a plant, or picture frame ... mmm!

More fun things tomorrow - I'm working on easter rabbits just now.

Sunday, 18 March 2012

I love Pinterest!

I discovered Pinterest a few months ago and it has really changed the way I research what I am going to make next. I was doing my own version of collecting on-line inspiration, but boy it was hard work, cumbersome, and often involved losing stuff! If I had a good colour printer I would probably have contemplated printing some things out, just so I could keep them!

For many years I have kept what I call "happy books" - scrapbooks filled with pictures I love or find inspiring - and I still do keep these to hand for pictures I cut from magazines or birthday cards I receive. There's still a place for the book and the paper record after all. But I find Pinterest incredibly absorbing and a great way to find inspiration whilst I have a quick cuppa tea.

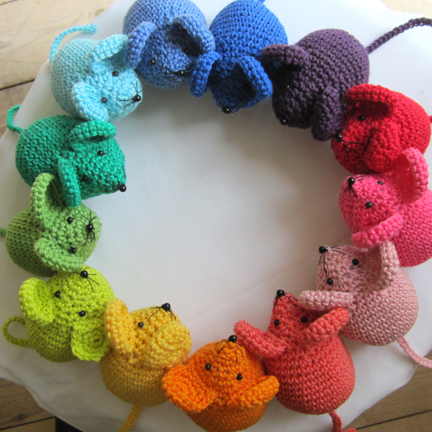
It was on Pinterest that I discovered Planet Penny , a fellow crafter who is as mad about rainbows as I am. I first discovered (and fell in love with) Penny's rainbow mice:
Aren't they just gorgeous?? Penny has now written a pattern for these so I shall have a go at making them myself.

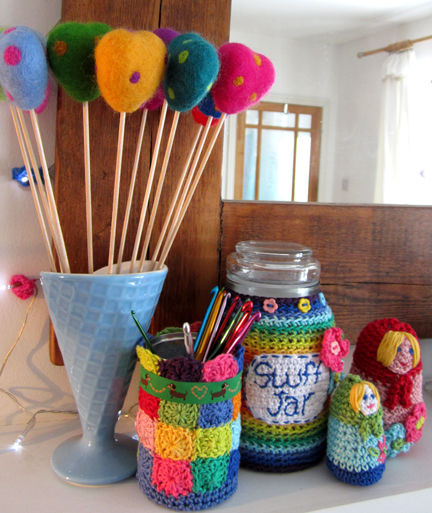
I also found a picture of some lovely storage jars that Penny has decorated - look:
 I fell in love with the "stuff jar" and decided to do something similar to a container I use for putting in all the little bits of cotton and scraps that I always seem to accumulate (usually on my sleeves!) when I am sewing. It was plain plastic and a little boring. However it looks a bit more interesting now!
 A little progress has been made on the shed. It is still in need of painting (I fear that might take a while!), but I did manage to put up some bookshelves earlier in the week. That means about half of my worktop is now clear, so I can utilise it a little better. The aim is not to just clutter it up with junk!
My current evening project is making some more granny squares for my rainbow granny that is covering my old Parker Knoll chair in my shed. This is my "sitting and knitting" chair which is ever so comfy but definitely benefits from a cheerier look! As you can see it doesn't quite cover the chair at the sides so I am in the process of adding a couple more rows down the side.

I've also been making some lovely spring goodies for sale ... watch out for a post later in the week!

Tuesday, 13 March 2012

Putting a little light on the subject

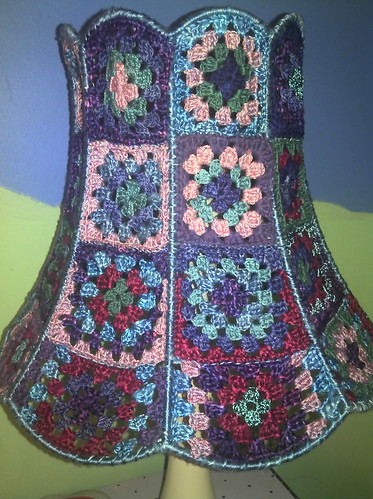
At last, it is finished! The first of my long-term projects which I showed in close-up earlier on this month. And here it is all done:

This is not its final resting place, as it will be going out in my shed/studio when that is decorated, but I put it on my bedside table just for now so you can admire it.

There's a lot of work gone into it. Firstly I wrapped the wire frame in pale blue silk. Then I crocheted squares in the right sizes to fill the gaps, attaching them as I went along. This was perhaps a little easier than you might think, as crochet is very stretchy so I didn't have to faff about with the pattern to make it fit the shape, just stretched it into place! For the second row down, I just used a slightly larger hook and slightly thicker yarn (I've used a mixture of silk and cotton, all hand-dyed by a lovely artist friend of mine).


The third row down was the trickiest as I had to increase the square towards the bottom - however after a bit of trial and error I found it easy enough to do.

However it really looks its best when you switch it on ...

Pretty, huh?