Pages

Showing posts with label granny square. Show all posts

Saturday, 28 September 2013

Inspiration from Cath Kidston

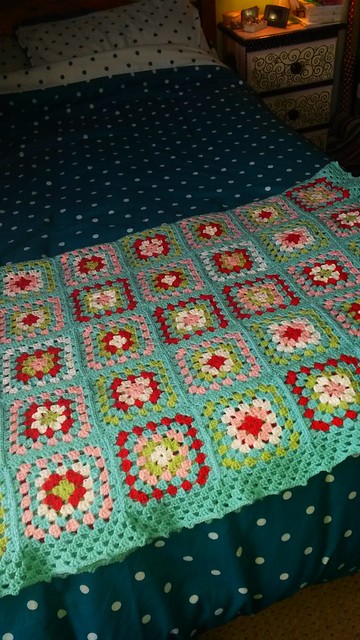
This project has been hanging around for a while and I finally got around to finishing it!Apologies for the awful lighting; it's very dark up here today but I needed a bigger space to display the finished object than I could manage in my studio with its lovely daylight lamp.


I was inspired by the colours that Cath Kidston uses in her styling. I originally started out with lemon yellow and peach in the mix too, but in the end I decided to stick with pale blue, pink, green, white and red.


I added a border of five rounds of the pale blue and a picot edging which gave the blanket slightly fluted appearance.


This blanket will be on its way to a friend next week - happy snuggling!


Sunday, 14 July 2013

A place to play

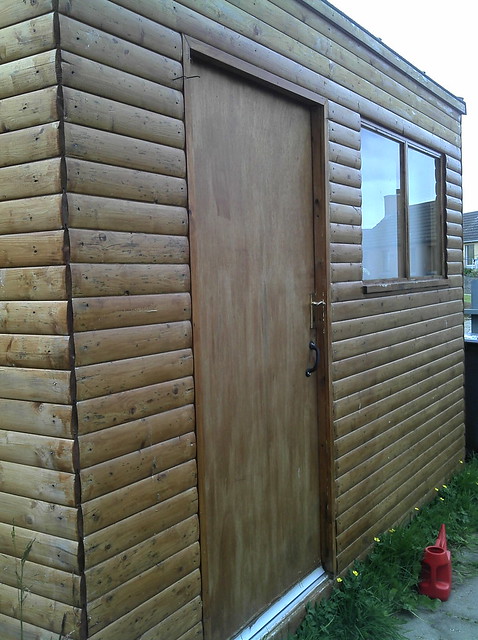
Every child needs a place to play .. and so does every adult! Here's my "play space", a fabulous shed in the garden.

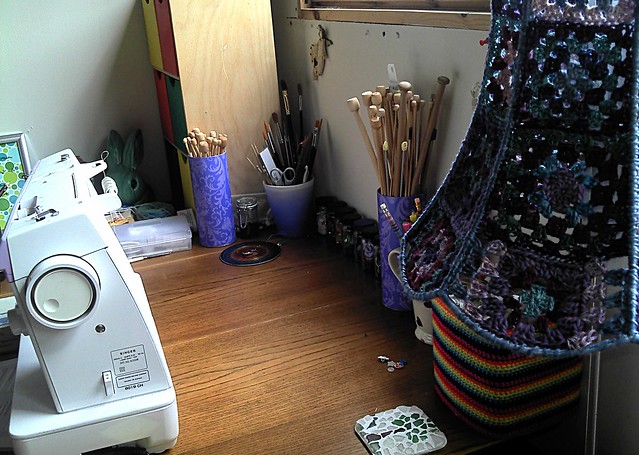
I have a lovely old oak table for sewing on, where I keep all my bits and bobs to hand:
On the left is my trusty Singer sewing machine, on the right is my upcycled lampshade that I crocheted with hand-dyed silk. In front of it is a drinks mat made from sea glass I found on the beach.

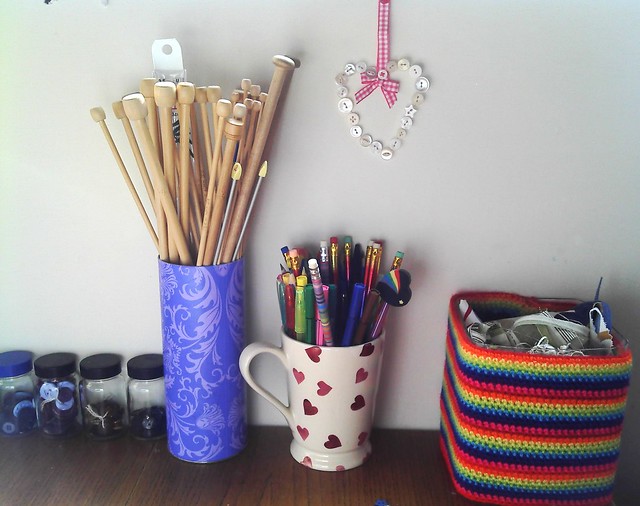
The stripy thing you can see is my little desk bin, for all those bits of thread and fabric snippings. I had seen something similar on Planet Penny's website and decided to have a go. My knitting needle holder originally had shortbread in it! And old spice jars make great button holders.


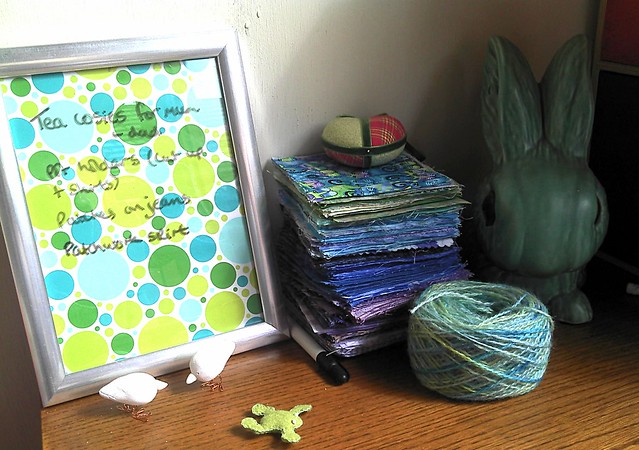
I made my "to do" list from a cheap photo frame with wrapping paper in it, and I use a white board pen to add things to it. I made the little birds from air-drying clay and copper wire.


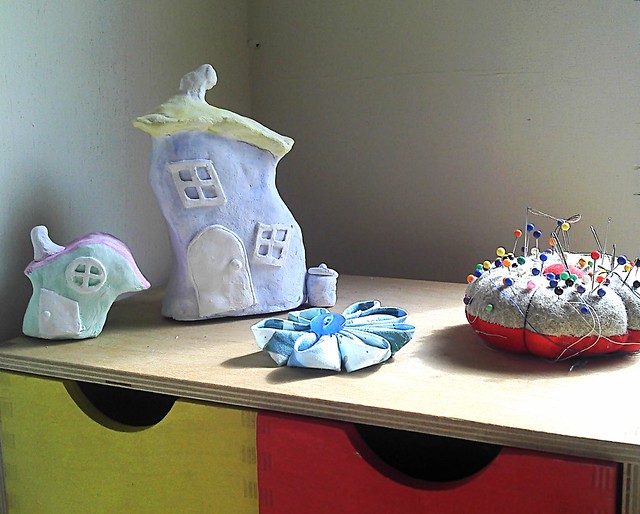
I have a fabulous wee set of drawers that are full of lots of bits and bobs - sewing thread, beads, tape measures and "found" items. On the top I keep my pincushions (I have three but I don't know where the other two are at the moment!), plus some more air-drying clay sculptures (these were created by modelling around small bottles and tinfoil, wrapped up with masking tape before applying the clay).


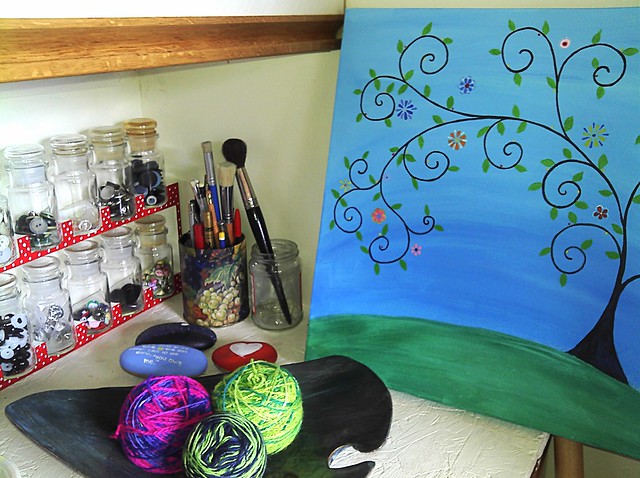
More buttons, safety eyes and handbag clasps in another old spice jar arrangement. I cheered this one up with red paint and polka dots. I painted the picture but haven't got round to putting it up yet. The yarn is some I hand-dyed myself , in a lovely plate made by a ceramic artist friend of mine. The stones were painted by my eldest daughter.


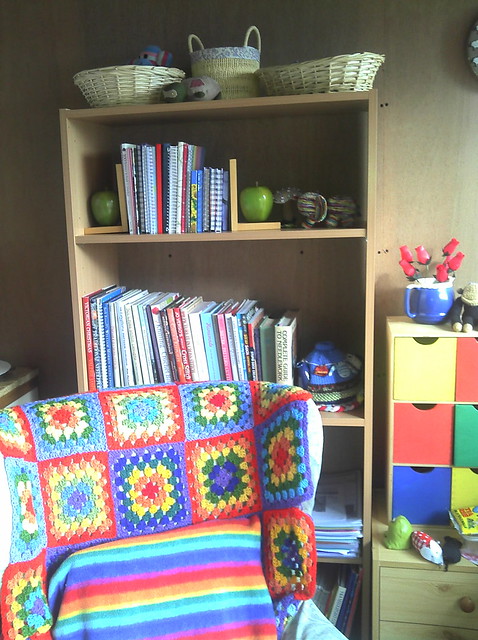
My bookcase holds all sorts of treasures - my sock monkey stash, my ideas notebooks, and all my sewing and knitting inspiration books. Some are old favourites, some are new additions, all are often referred to. I used to have three times as many but I have pared them down recently. Just at the bottom of the picture you can see my Parker Knoll armchair covered in a Rainbow Granny blanket - for more pictures of it have a look here.


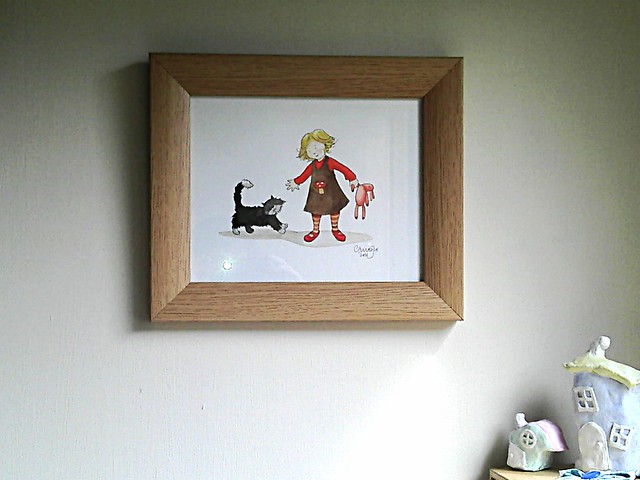
My favourite item in my shed is this picture by a lovely artist friend of mine Charlie Meyer - for more of her work have a look at her regularly updated Facebook page . It never fails to cheer me up!

Anything else you want to know about what you see, just ask! Do you have a place to play too?

Monday, 9 April 2012

Some vintage style crochet and the giveaway winner!

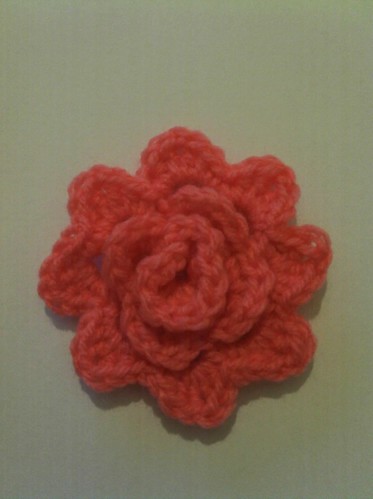
I love crochet. Love love love it. And I really like granny squares too. So when I came across this crochet-a-long on this lovely blog apple blossom dreams I just had to join in, even though I'm a bit late to the party! Since this morning I have crocheted 13 roses (there are meant to be 12 but I lost count! But I'm thinking I might make it 16 anyway).
Apologies for the poor photos, I took them in electric light. But don't they look pretty altogether?
I've added leaves to some and cheekily crocheted the white border even though we haven't had that part of the tutorial yet (bad me).
I'm pleased with the colourway too, I think it works really well. I will show you the finished cushion cover when it's all done! It's not too late to join in with the CAL either - just follow my link or click the button on the right and get crocheting!

And lastly, here's the winner of my wee bunny rabbit that was featured in my sock rabbit tutorial last week. Thank you all for your comments, on here and on my facebook page. We put all the names into a hat and drew out ... (drum roll) ... Driftwood!!! Please let me have your address and I'll put him in the post to you :o)

Now I'm off to have a look at Handmade Monday to see what else crafty folk have been up to ... hope you had a lovely day today.


Saturday, 31 March 2012

Finished!

At last, I have finished remaking my rainbow granny!


Originally I had decided to add another 14 squares down the sides so that it was wide enough to drape properly over my chair, but when I came to look at my poor sad blanket I noticed that it had come apart in several places. So I decided to take it apart completely (you should have seen the look on everyone's faces when I started to hack into it!), reorganise the layout to add in the new squares amongst the old ones, then crochet four rounds around the edge to finish it off.


In the end I placed the squares fairly randomly, just making sure I hadn't got squares in the same colours next to each other. I'm glad I didn't overthink it actually!

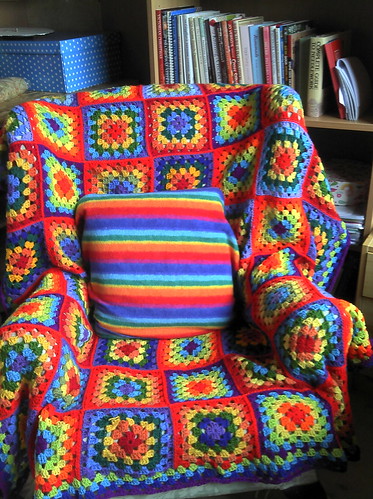
And here it is in all its technicolour glory, on my Parker Knoll chair in the shed. A little ray of sunshine happiness!

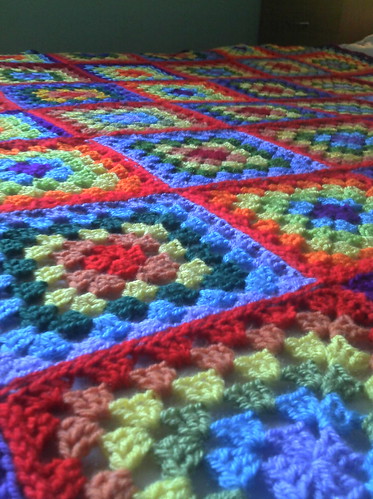
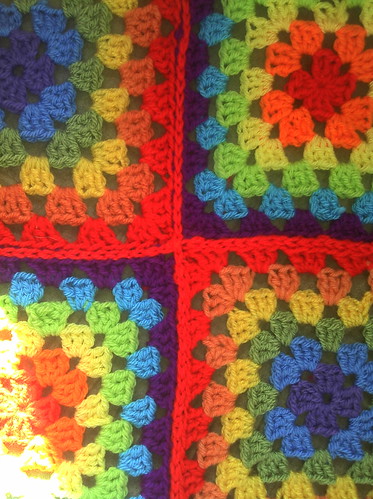
Rather than sewing the squares together this time, I used a fab technique I found on grumpy girl's blog - it's so clearly explained that even my crochet novice brain could understand it! I'm so pleased with the result, it lies really flat and is quite unobtrusive (and neat). It's definitely stronger than just sewing the squares together too. I will definitely use this technique again, maybe in a contrasting colour next time, Here it is in close-up so you can see how cool it is!


It was a bit bright and sunshiney when I took this photo (unlike today!) , but you can see how neatly it all joins up. Thank you for visiting!

Sunday, 18 March 2012

I love Pinterest!

I discovered Pinterest a few months ago and it has really changed the way I research what I am going to make next. I was doing my own version of collecting on-line inspiration, but boy it was hard work, cumbersome, and often involved losing stuff! If I had a good colour printer I would probably have contemplated printing some things out, just so I could keep them!

For many years I have kept what I call "happy books" - scrapbooks filled with pictures I love or find inspiring - and I still do keep these to hand for pictures I cut from magazines or birthday cards I receive. There's still a place for the book and the paper record after all. But I find Pinterest incredibly absorbing and a great way to find inspiration whilst I have a quick cuppa tea.

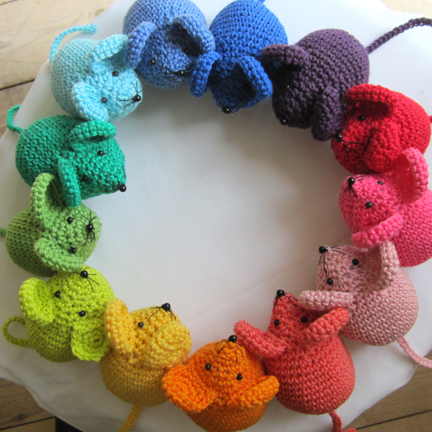
It was on Pinterest that I discovered Planet Penny , a fellow crafter who is as mad about rainbows as I am. I first discovered (and fell in love with) Penny's rainbow mice:
Aren't they just gorgeous?? Penny has now written a pattern for these so I shall have a go at making them myself.

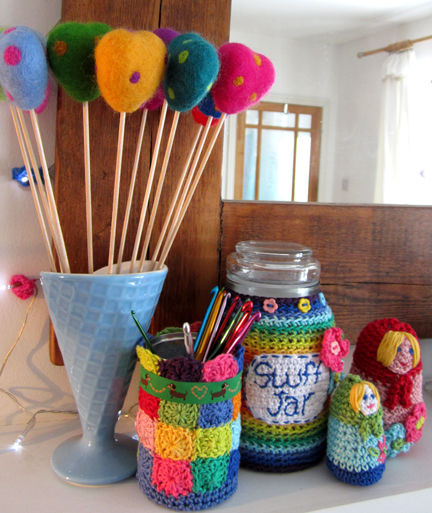
I also found a picture of some lovely storage jars that Penny has decorated - look:
 I fell in love with the "stuff jar" and decided to do something similar to a container I use for putting in all the little bits of cotton and scraps that I always seem to accumulate (usually on my sleeves!) when I am sewing. It was plain plastic and a little boring. However it looks a bit more interesting now!
 A little progress has been made on the shed. It is still in need of painting (I fear that might take a while!), but I did manage to put up some bookshelves earlier in the week. That means about half of my worktop is now clear, so I can utilise it a little better. The aim is not to just clutter it up with junk!
My current evening project is making some more granny squares for my rainbow granny that is covering my old Parker Knoll chair in my shed. This is my "sitting and knitting" chair which is ever so comfy but definitely benefits from a cheerier look! As you can see it doesn't quite cover the chair at the sides so I am in the process of adding a couple more rows down the side.

I've also been making some lovely spring goodies for sale ... watch out for a post later in the week!