Pages

Showing posts with label fabric. Show all posts

Monday, 24 June 2013

Altoid Tin Earring Keeper!

 SUCH a long time since I last posted! I've been busy doing other things for a long while - four children and a full-time job take up a lot of hours - but I just had to share this as I am so excited by what I created!

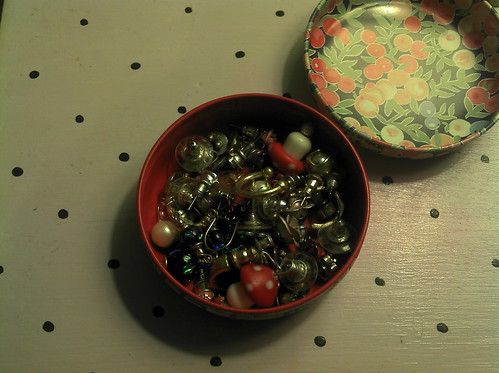
Like many people I'm sure, I love my earrings. I will often match them to my outfit (as I always say, you can take the girl out of the 80s, but not the 80s out of the girl!). I have a sweet little tin to keep them in, but I suspect you will immediately see the problem:
Yup - it can take several minutes to find a matching pair! So, I spent many an hour trawling the internet looking for a solution, and was surprised to find nothing fitted the bill. Lots of ideas on how to hang up your danglies, but nothing for studs, which comprises the majority of my collection.

Then I had an idea ...
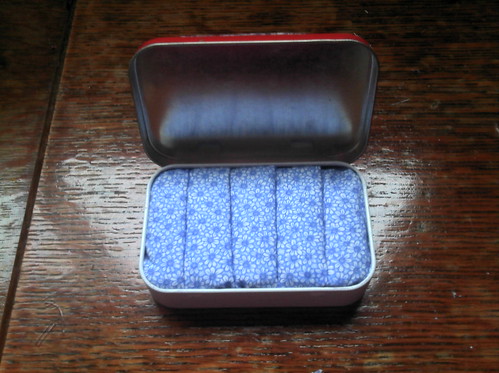
... can you see where I'm going with this? Here's a quick preview:

Ta daa!

OK, so here's what to do:
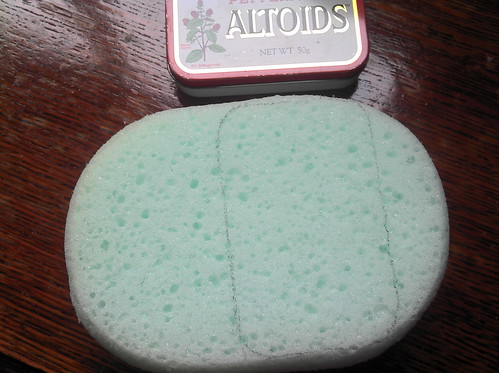
Firstly, take your altoids tin and draw round it onto the sponge:
Next, cut round your sponge. You can use a pair of fabric scissors or a scalpel (stanley knife), whatever works best for you. You may also need to cut your sponge in half if it's a big thick one. It should fit snugly in the tin, but not need "squashing" to fit it in. It should also be a little lower than the lip of the tin (note, I didn't do this and my tin won't shut with my earrings in! So learn from my mistake!)
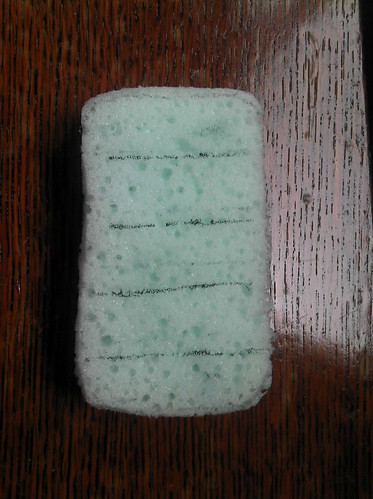
Now take your sponge out of the tin and mark out four equally spaced lines. As you can see from the rather grubby state of my sponge I had a couple of goes at this until I was happy! My sponge is about 10cm across, and my lines are at 2, 4, 6 and 8cm.

Then, using your scissors or scalpel, cut along the lines to about HALFWAY through the sponge. Do not cut all the way through!
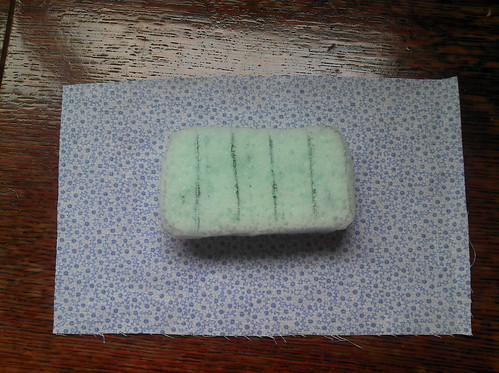
Next, choose your fabric. I chose one with a small subtle pattern, as I wanted my earrings to be prominent and not lost among a "busy" background. A fine cotton fabric works best; I would avoid anything very stretchy or slippery.
I cut my fabric to a generous size, about 25cm by 15cm. You need plenty of extra fabric to fit down the slits you created in the sponge.

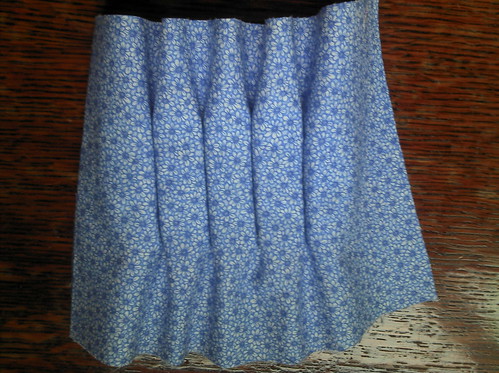
The next bit is a little fiddly, but not as difficult as you might expect as the sponge helps to "grip" the fabric. Starting at one end, leaving enough fabric to wrap around the end of the sponge, gently push the fabric down the first slit, then continue along the sponge until all the slits are filled. If you aren't happy with it, simply pull it out and start again! You should end up with something looking a bit like this:
As you can see, I've left spare fabric at both ends to tuck round the sides.

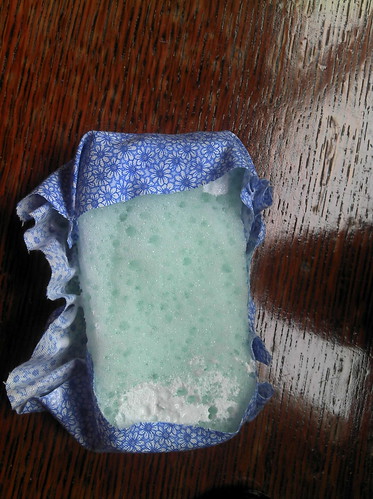
Next, turn the whole thing over and put a generous blob of glue on each end of the sponge. Press the fabric down firmly until it sticks. (As you can see from the photo, I was rather over-generous with the glue at one side!)
Now, trim the sides down a little (if needed), leaving enough fabric to wrap around the sides and onto the base of the sponge. Add some more glue and firmly stick down the fabric, holding it in place until the glue starts to do its job. On this picture I had got one side to stick, but not the other!

It doesn't need to be really neat, just enough to hold the fabric in place. Now turn your creation over and pop it into your tin.

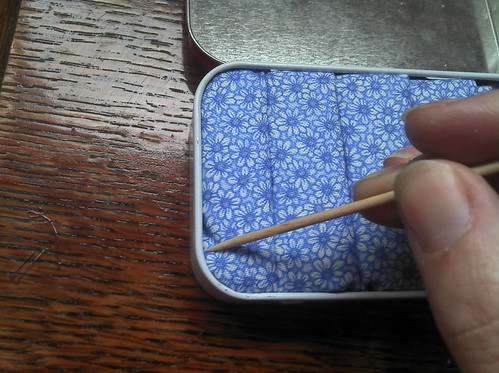
Looking good! You can use a cocktail stick or toothpick to neaten up the sides and get your fabric to sit just right.

Now you just need to finish off the top. If you like, you could just leave it au naturel, or you could paint it, or stick a picture on it - the choices are endless! There are lots of great tutorials out there which can give you ideas. I decided just to add the same fabric to the lid as the inside, since my tin is just going to sit on my bedside table and not get bashed about in a bag or suitcase. So I laid my tin on my fabric and drew round it:
Then I smeared glue evenly over the lid and stuck it on:
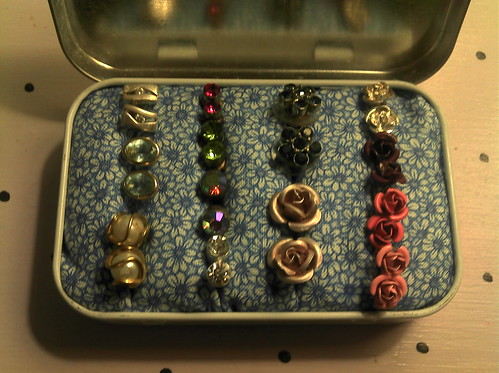
And there we have it! The final thing to do, of course, was to add my earrings.
As you can see, I left the few dangly pairs I have in my little round tin. But now I can find all my studs at a glance. No more rooting around frantically first thing in the morning!

Tuesday, 17 April 2012

More vintage deliciousness

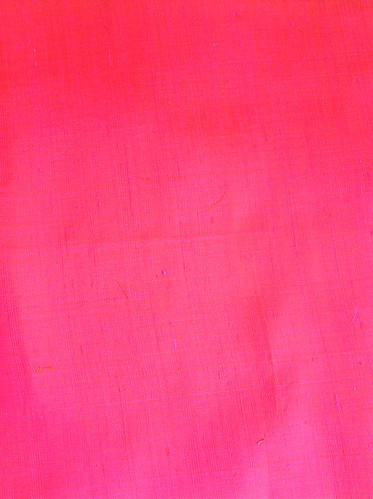
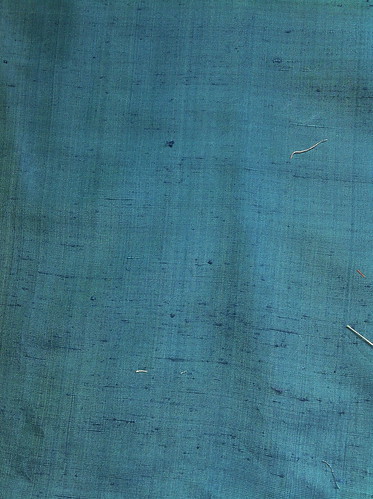
At Christmas, whilst staying with my parents, my mum pulled out a huge box of fabric she had been given by my aunty when she had moved house recently. Much of the fabric had lain undisturbed in a box for the best part of forty years. Some of it was beautiful Thai silk which my dad had purchased when visiting there before he was married.
The pink colour is absolutely fabulous, it is a combination of pink and orange and shimmers in the light!

This photo doesn't do the blue justice; it has a purple shimmer running through it.


We then unpacked lots of wonderful cottons ...

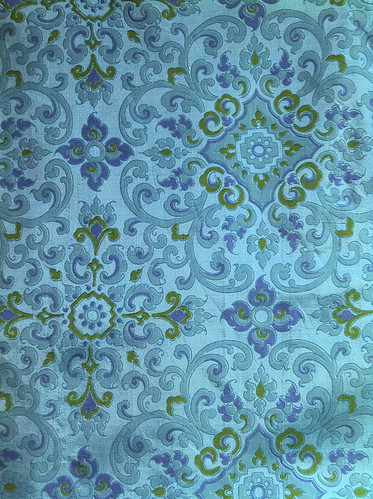
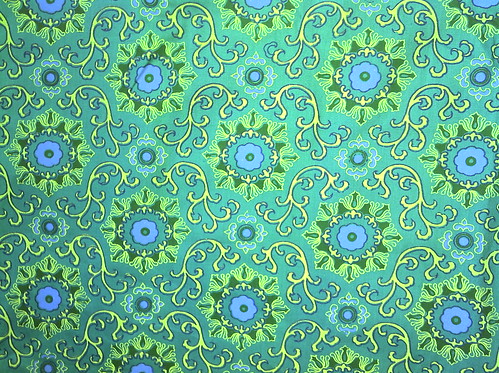
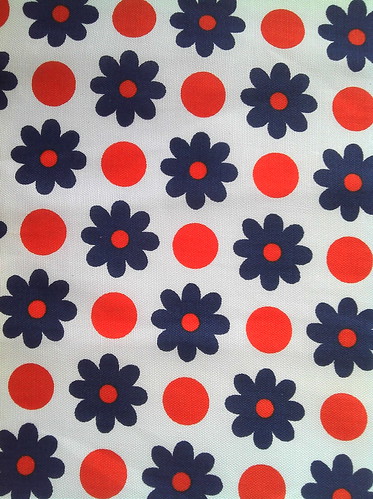
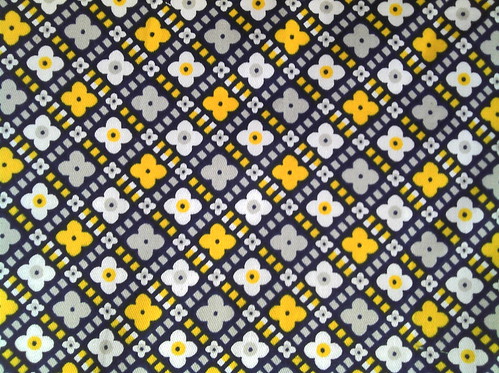
And oohed and ahhed over the fabulous patterns ...

And the oh-so sixties colour combinations!


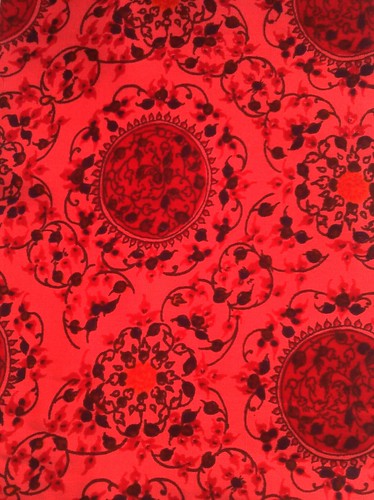
This one is particularly fantabulous, I think:


Sadly they are mostly bits left over from dressmaking, so most pieces are barely a fat-quarters-worth.


So I shall have to be very sparing in my use of them!


Which is your favourite? Do let me know!


Saturday, 21 January 2012

Journalling - a new adventure


It's been a while since I blogged, but I have still been creative even though I've been quiet!
I'm generally more of a fabric fan, but just recently I had a yearning to doodle. I've fallen in love with pinterest recently and have been collecting pictures of art journals. I decided to start keeping one myself. I searched high and low in the local shops for a suitable book to use, but couldn't find anything! After waiting impatiently for a couple of weeks to see if any came in, I had the brainwave of making my own journal. I've always thought of this as a really hard, technical thing to do, but in fact it's really not that difficult.

So here is a sort-of tutorial (it's only a "sort-of" because I didn't take pictures of every stage, it just occurred to me afterwards that it might be good to share the process!).

OK so bear with me as I don't have pics of this bit. First thing I did was get hold of five A2 sized sheets of watercolour paper. Now I know not everyone has these lying around. I happen to have a very generous art-teacher friend who was clearing out her cupboards. Using a long ruler as a guide, I tore each sheet in half and half again, so I had four A4 sized sheets from each large one. I could have cut them, naturally, but I quite like the look of torn edges, plus I wanted a bit of a rough-and-ready look to my journal.

Once each sheet was torn into four, I folded the four sheets in half, so I ended up with five stacks of folded paper. Then, using a bradle (is that how you spell it? little metal spike with nice handle!) I poked three holes through the centre of each set of pages at regular intervals (having measured them first).

Picture coming soon, I promise! I then stitched the pages together. I kind of used this very helpful tutorial to work out how to stitch the pages together, but having only made three holes rather than four I realised I had made life a little difficult for myself! Still, I managed to attach all the pages to each other. You would think it is very fiddly, but honestly it's not. This pic show the sewn pages of my journal (I used waxed linen thread to sew it together, and it's black because that's all I had!)

See? It's not mega pretty along the edge but it won't show in the finished article, and it's fairly unobtrusive inside.

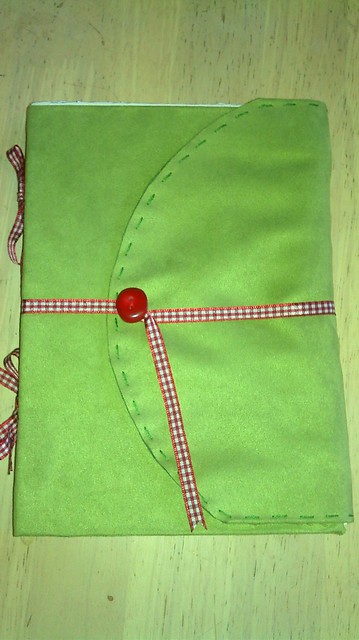
OK, next I made my cover. I used a lovely green moleskin-effect fabric that I had bought years ago, waiting for the right project to "speak" to me, and it shouted that it wanted to be a journal cover! I don't know how well it will stand up to wear and tear, and I suspect it will look fairly grubby by the time the journal is full, but I think that will all add to the authenticity.

So I started by cutting two pieces of stiff card the same size as my folded pages (so about A5). I measured the height of my sewn pages and made that the distance between my pieces of card. I glued the card down with some wood glue (just what I had to hand; copydex or fabric glue would do just as well). I then weighted down the card until it had dried as the glue had made it warp a little.

I then cut out my fabric, leaving about 2cm extra round the sides, and about 10cm at the right hand side. This was to make a flap to go round the journal, to keep it protected when not in use.  I also cut two parallel slots in the "spine" of the fabric (you can see those in the photo above) at two points, for me to thread the ribbon through later. I then glued the extra fabric down onto the stiff card, trimming it at the corners and the spine so it folded down nicely.

Having made a flap for the front, I decided it would work better if the flap was rounded. So I used a dinner plate to draw a curve onto the fabric, and onto a second piece of fabric which I then attached with a simple running stitch to the over.  Here it is:


The added bonus is that the flap makes a little pocket which is perfect for keeping wee pictures and inspirations in for later!

Now I added the ribbons which attach the book pages to the cover. I've not seen this done before so I made this bit up as I went along. Here's a close-up of the ribbon attached:


Basically I threaded the ribbon onto a tapestry needle and, starting from the outside, threaded it through the uppermost slot, then down through the threads on the pages, then out through the lower slot. I tied the ribbon in a bow and cut it to the correct length, then repeated for the other end. I won't lie: this bit IS fiddly. If you have a curved needle then it will make it much easier. But don't let that put you off; it's only a very small part of the process. Here's how it looked after both ribbons are attached:


I rather like it!

Next step was to finish off the cover. I took another length of the red gingham ribbon and sewed it, together with a lovely cherry-coloured button, onto the centre of the curved flap. The ribbon wraps around the book, then twists round the button to hold it firmly in place. In all I bought two metres of ribbon and that was plenty for the whole project. I am SO glad I went for red, it really pops against the green fabric!


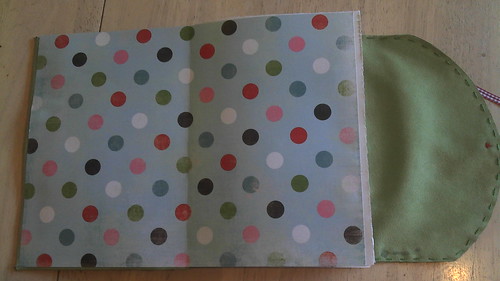
Final step was to add some endpapers. These cover up the bits where the fabric is glued inside and hide the spine. They also help to strengthen the bond between the pages and the cover. I used a couple of sheets of scrapbooking paper, cut them to A4 size then folded them in half, then glued them in place, making sure the pages were squared up to the stiff card of the cover:


I then placed the whole thing under a pile of books until the glue had dried.


So there you go - I hope you like my journal! It was my first attempt at making a journal and I can see all the bits that didn't quite work the way they should have ... but I'm happy with the basic principles (which is why I'm brave enough to share them!)

Lastly of course I created my first journal page ... this is it almost completed. Since I took this picture I've added some more colour to the "leaves" and the trunk.


Thank you for reading; I hope this inspires you to have a go at making your own journal!
Thursday, 17 March 2011

New product!
And I'm a little better too :)

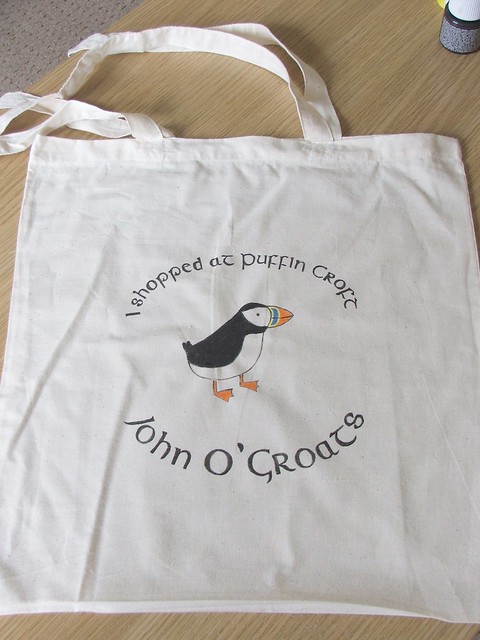
Here's a project I have been working on for a wee while - bags for a wonderful place in John O'Groats called Puffin Croft Farm Shop . They do fantastic veg boxes which they deliver weekly, and they sell their own home-grown vegetables plus eggs and deli items. If you are in the area they are well worth a visit - the owners are really friendly and they have some lovely animals there too! The bags are for sale at the farm shop.

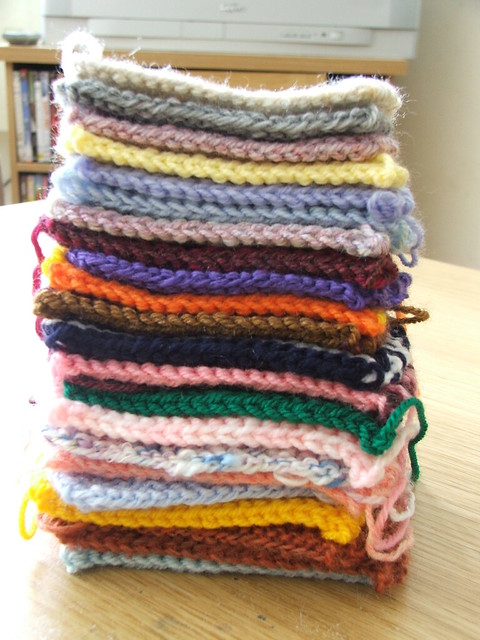
I started feeling a wee bit better yesterday afternoon, but am still not feeling great! You can tell by the amount of squares I have knitted.

Hopefully I will be back to full health soon!

Thursday, 7 January 2010

What have I been up to ...

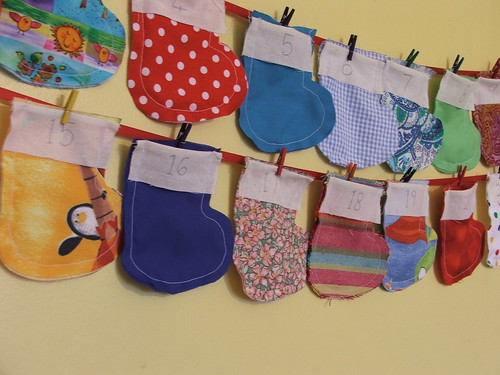
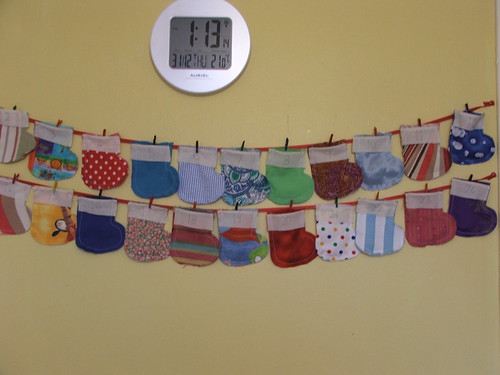
Well since we are only nicely out of the Christmas season, I won't apologise for showing you my only seasonal make of 2009! This was my reusable advent calendar made from material scraps left over from other projects of the year. I hung them up with miniature wooden clothes pegs on some festive red ribbon, filled them up with roses chocolates, and the children took turns dipping into the stockings each morning - great fun!

I would really like to have finished off the edges with my pinking shears but they have gone missing :o( - if anyone knows where they are then please let me know!!

The giveaway prize is in its infancy but coming along nicely - more info on this in a few days' time :o)